Are you looking for an effective and safe way to clean your fish tank? Look no further! Hydrogen peroxide is a powerful disinfectant that can help you get your tank looking sparkling clean. Follow our 10 easy steps and you’ll be sure to have a clean tank in no time.
Just make sure to take safety precautions, as hydrogen peroxide can be harmful to fish in high concentrations. With the right instructions, you’ll be able to clean your fish tank with hydrogen peroxide without any hassle.
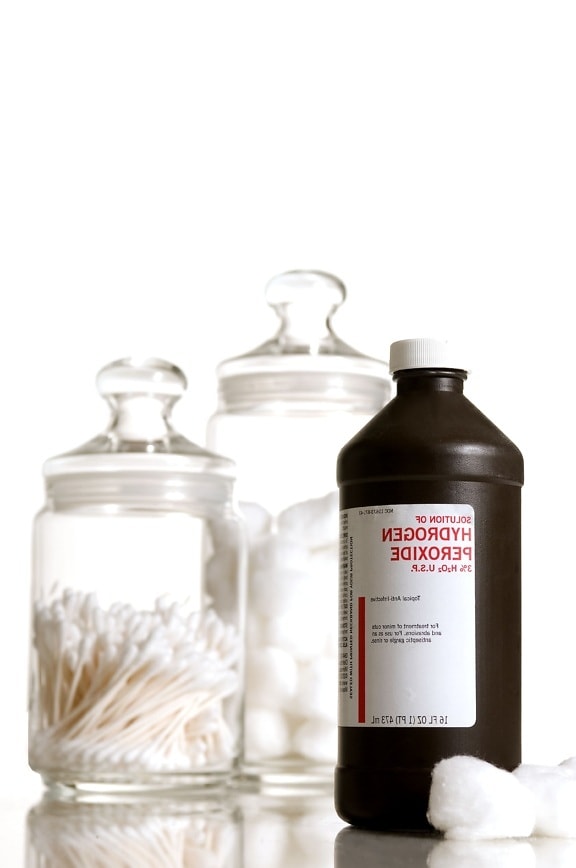
Prepare Hydrogen Peroxide Solution
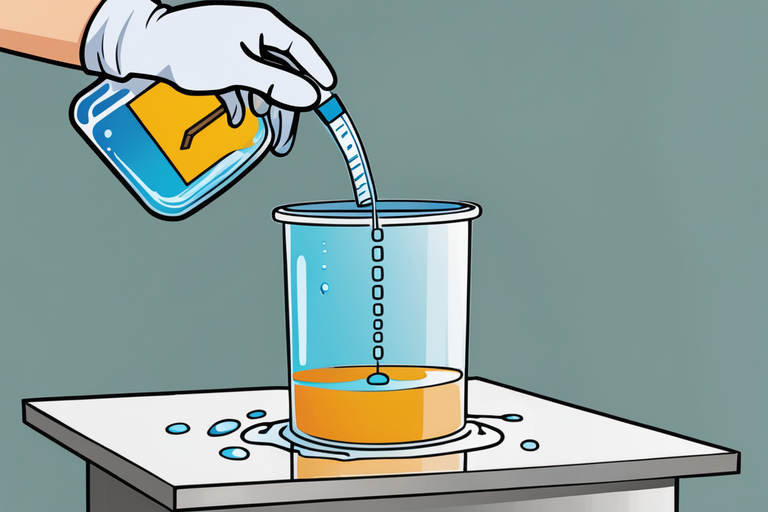
Mix one part hydrogen peroxide with four parts water to prepare your hydrogen peroxide solution. Diluting the hydrogen peroxide properly is essential for safety and effectiveness. It’s important to take proper safety precautions when using hydrogen peroxide, such as avoiding contact with skin and eyes and using gloves for protection. Too much hydrogen peroxide can be harmful, so proper dilution and caution is key. The benefits of using hydrogen peroxide for cleaning a fish tank are numerous, such as its effectiveness against algae and its ability to remove stubborn stains.
Alternatives to hydrogen peroxide for cleaning a fish tank include vinegar or bleach, but hydrogen peroxide is generally considered the safest and most effective option. In addition, it’s important to consider the frequency of cleaning the tank, as well as the impact on beneficial bacteria.
To ensure proper cleaning, it’s recommended to use a sponge or scrub brush with the hydrogen peroxide solution. Finally, it’s important to consider the impact of hydrogen peroxide on the fish’s health. With the right preparation, hydrogen peroxide can be an effective and safe cleaning solution for your fish tank.
From here, it’s time to move on to the next step of the process: removing the fish.
Remove Fish
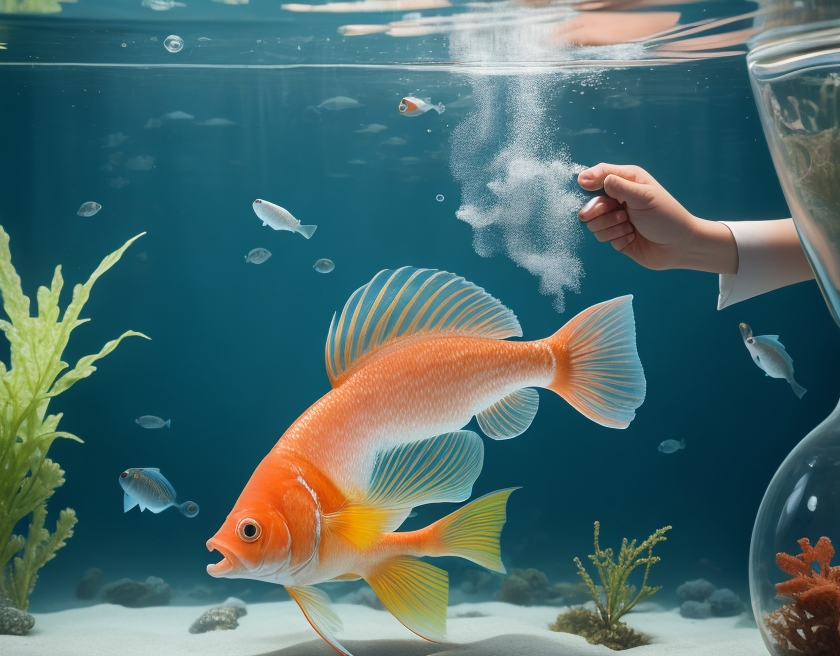
Next, carefully remove the fish from the tank. The first step is to ensure their safety by transferring them to a separate container with water from the tank. Make sure the temperature of the water is suitable for the fish species. It’s also important to properly clean the container they’re being moved to. To prevent the spread of any disease, always rinse the container with warm, clean water. Additionally, it’s important to keep track of the fish’s acclimation time in the new container.
Once the fish are out of the tank, it’s time to remove any decorations, rocks, or plants. These items should be rinsed thoroughly with clean water to remove any debris or dirt. Algae and stubborn stains can be removed with a sponge or scrub brush dipped in a hydrogen peroxide solution. Avoid using abrasive materials that could scratch the glass or acrylic of the tank. After scrubbing, rinse the tank with clean water to ensure no residue of hydrogen peroxide is left.
The decorations and plants should also be cleaned in the hydrogen peroxide solution for a few minutes then rinsed with clean water. When placing them back in the tank, make sure they’re properly positioned and secure. Fill the tank with fresh, dechlorinated water at the appropriate temperature for your fish. It’s also beneficial to add beneficial bacteria supplements to help establish a healthy bacterial colony in the tank.
Remove Decorations and Plants
Once the fish have been removed, take out any decorations, rocks, or plants from the tank. Rinse them thoroughly with clean water to remove any debris or dirt.
For any stubborn stains or algae on the tank walls, dip a clean sponge or scrub brush into a hydrogen peroxide solution and gently scrub. Make sure to properly clean ornaments and disinfect plant surfaces.
Remove any algae growth from decorations and clean artificial plants. Sanitize the gravel substrate and eliminate dirt from tank decorations.
Sterilize rocks and driftwood and remove any stubborn stains from tank accessories. For a deep clean, soak tank ornaments in the hydrogen peroxide solution for a few minutes and disinfect any live plants before reintroducing them to the tank.
Rinse the tank thoroughly with clean water to make sure there’s no residue of hydrogen peroxide left.
Scrub Tank Walls
Scrubbing the tank walls with a hydrogen peroxide solution is essential for a thorough clean. To effectively clean your tank and prevent algae growth, you should use the right tools and techniques. Before scrubbing with hydrogen peroxide, try using alternative tank cleaning solutions such as vinegar or baking soda.
Regular tank maintenance is key, and if you encounter any issues while cleaning, troubleshoot them accordingly. When scrubbing tank walls, use a clean sponge or scrub brush and dip it into the hydrogen peroxide solution. For stubborn stains, scrub gently and take your time. Choose the right brush or sponge for your tank material to avoid scratching.
Be sure to handle hydrogen peroxide safely in fish tanks and always dilute it properly. Hydrogen peroxide can be an effective and beneficial tank cleaning solution, but take necessary precautions. After scrubbing, rinse the tank thoroughly with clean water to ensure no residue of hydrogen peroxide remains.
Rinse the Tank
After scrubbing the tank walls, you need to rinse the tank thoroughly with clean water to remove all residue of hydrogen peroxide. Proper rinsing techniques are essential to prevent contamination in the tank and ensure it’s safe for fish.
Here are some tips to keep in mind:
- Use clean water for rinsing and drying the tank afterwards.
- Check for any remaining hydrogen peroxide that might be present.
- Maintain water quality during rinsing to keep your fish healthy.
- Be aware of the potential risks of inadequate rinsing.
- Monitor fish behavior after rinsing to ensure they’re adapting well.
Rinsing the tank is an important step in keeping your aquarium clean and healthy. Doing it correctly will help ensure your fish are happy and safe.
Once the tank is rinsed, you can begin to reassemble it.
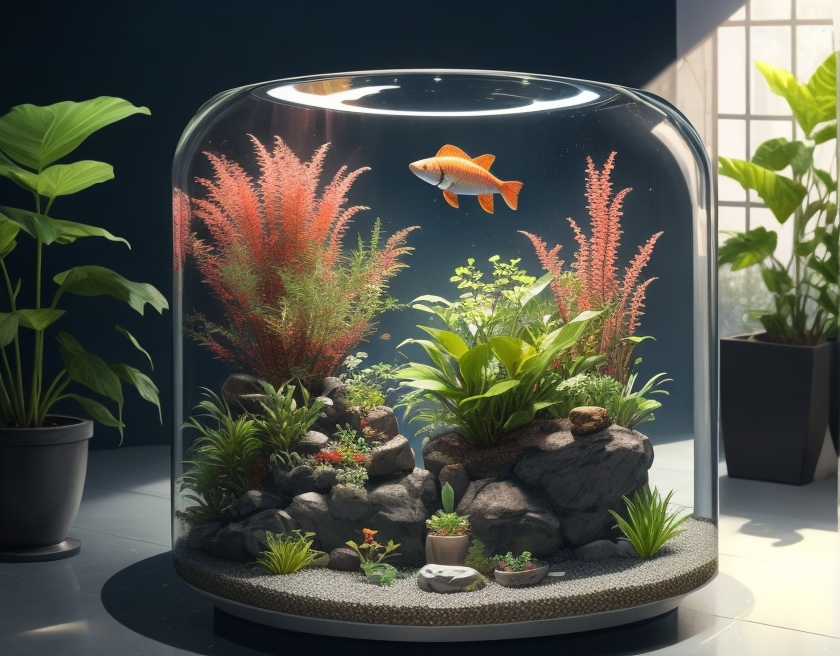
Reassemble the Tank
Once you’ve rinsed the tank, it’s time to reassemble it. You’ll need to consider the layout of the tank, the type of decorations you choose, the water temperature, and water quality. Live plants are a great way to add oxygen and beauty to the tank. Make sure to use aquarium safe cleaning products when you’re adding new decorations. Algae growth can be prevented by controlling the light and pH levels in the tank. Consider adding a filtration system to keep the water clean and healthy for your fish.
Here’s a step-by-step guide on how to reassemble the tank:
- Gather the required tools: Before starting, gather all the necessary tools such as wrenches, screwdrivers, or any other equipment needed for disassembly and reassembly.
- Inspect each component: After thoroughly cleaning each part of the tank with hydrogen peroxide solution, inspect them for any signs of damage or wear. Replace any damaged parts if needed.
- Begin with base assembly: Start by placing the base of the tank on a flat surface. Align any holes or grooves on the base with corresponding slots in other components that need to be attached to it.
- Attach side panels: If your tank has multiple side panels, attach them securely one by one according to your specific model’s instructions. Make sure they fit snugly without leaving gaps between panels.
- Install internal filters or pumps: If your tank includes internal filtration systems or water pumps, carefully install them following manufacturer guidelines. Connect tubes or hoses properly to avoid leaks.
- Insert dividers or compartments: Some tanks have dividers or additional compartments inside for separating different sections of aquatic life (such as fish from plants). Place these dividers in designated positions within the tank.
- Add lighting fixtures/hoods: Assemble and install lighting fixtures or hoods that go over the top portion of the aquarium (if applicable). Ensure electrical connections are safely secured and working correctly.
- Attach lid/canopy/accessories: Finally, place and secure lids, canopies, feeding hatches, thermometer mounts, or any additional accessories designed specifically for your aquarium model.
9.Perform a final check-up: Once everything is assembled correctly according to manufacturer guidelines and personal preferences, perform a final check-up to ensure tight connections and proper functioning.
When it’s time to add new fish, make sure to introduce them gradually. Start by floating their container in the tank for 15-20 minutes to acclimate them to the water temperature. Then, gently release them into the tank.
| Tank Layout | Choosing New Decorations |
|---|---|
| Water Temperature | Testing Water Quality |
| Adding Live Plants | Using Aquarium Safe Cleaning Products |
| Preventing Algae Growth | Controlling pH Levels |
| Tank Filtration System | Introducing New Fish Gradually |
Read This if you are planning to use tap water for
After following these steps, you’ll have a sparkling clean fish tank that’s safe and healthy for your fish. Remember to use caution when cleaning with hydrogen peroxide, as it can be harmful in large concentrations.
With the right knowledge and safety precautions, you can easily use hydrogen peroxide to clean your fish tank and ensure a healthier environment for your fish.